Black spots creep up the shower wall right where the tile meets the tub. You scrubbed them last week. Now they are back. Mold loves the warm, wet environment of your bathroom. The porous nature of grout makes it a perfect breeding ground for these stubborn spores.
Surface cleaners just bleach the top layer of the fungus. To get rid of the problem, you need solutions that penetrate the grout lines and attack the roots. The right combination of household ingredients and elbow grease strips the mold out of your shower for good. You do not need harsh industrial chemicals.
Grab a stiff bristle brush and open a window. The humidity in your bathroom needs an escape route while you work. You are going to mix a powerful cleaning paste, scrub the lines hard, and lock out the moisture that feeds the microscopic spores.
Gather the Right Cleaning Supplies for Porous Grout
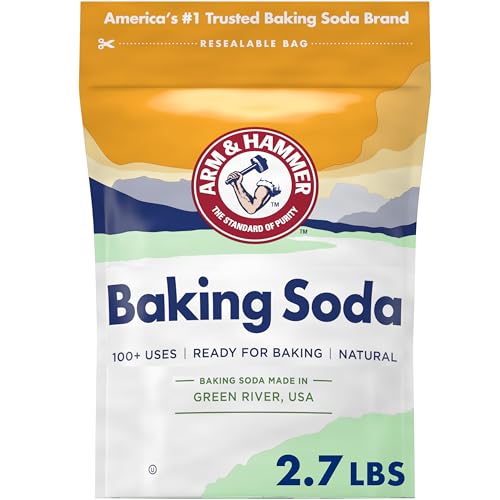
Your regular shower spray will not fix a serious mold infestation. You need a dedicated toolkit to pull the spores out of the porous cement holding your tiles together. Start with a fresh bottle of three percent hydrogen peroxide. Old peroxide turns into plain water over time and loses its bubbling action. Grab an unopened box of baking soda from the pantry.
The tool you use matters just as much as the cleaning solution. Skip the old toothbrush. The bristles are too soft to lift heavy buildup. Buy a stiff nylon grout brush with a narrow head that fits perfectly between your tiles. Keep a stack of clean microfiber cloths nearby to wipe away the dirty residue as you work.

Pre-Treat the Shower Walls with Hot Water
A dry shower wall repels your cleaning paste. You need to soften the soap scum and surface dirt before you tackle the actual mold. Turn your shower to the hottest setting. Let the water run over the affected tiles for five straight minutes. The heat loosens the top layer of grime blocking your access to the grout pores.
Turn off the water and grab your microfiber cloth. Wipe away the loose debris sitting on the surface of the tiles. This exposes the raw mold embedded in the grout lines. You want your cleaning solution fighting the actual fungus rather than wasting its power dissolving yesterday’s shampoo residue.
Mix and Apply a Thick Hydrogen Peroxide Paste
Plain liquid runs right off a vertical shower wall. You must create a thick paste to hold the active ingredients directly against the mold. Pour half a cup of baking soda into a small plastic bowl. Slowly add three percent hydrogen peroxide one tablespoon at a time. Stir the mixture with a plastic spoon until it resembles thick cake frosting.
Scoop the paste up with your grout brush. Press it aggressively into every dark spot on your shower walls. The mixture needs to fill the grout joints completely. Focus heavily on the bottom three rows of tile where water tends to pool. The paste begins bubbling immediately as the peroxide reacts with the organic matter.
Give the Cleaning Paste Time to Work
Rushing the cleaning process guarantees the mold will return. The peroxide needs time to seep deep into the porous cement and attack the root structures of the fungus. Leave the bathroom and let the paste sit undisturbed for exactly forty-five minutes. Set a timer on your phone so you do not forget.
Check the paste halfway through the waiting period. If the mixture looks dry or flaky, lightly mist it with straight hydrogen peroxide from a spray bottle. Keeping the paste wet keeps the chemical reaction active. A dry powder sitting on your wall does nothing to kill the spores buried inside the grout.
Scrub the Grout Lines with Aggressive Pressure
The waiting period is over and the real work begins. Take your stiff nylon brush and attack the grout lines using short, rapid strokes. You want to agitate the paste and physically lift the dead mold out of the microscopic holes in the cement. Apply enough pressure to bend the bristles slightly.
Work in small grids. Focus on a two-foot square area before moving to the next section. This keeps you from missing spots or spreading dirty paste onto clean tiles. Keep a small bucket of warm water next to you. Rinse your brush frequently so you are not scrubbing loose mold back into the clean grout lines.
Rinse the Walls and Inspect for Remaining Stains
The scrubbing phase leaves a gritty mess of baking soda and dead fungus all over your shower. Turn the showerhead back on to the warm setting. Rinse the walls thoroughly starting from the top and working your way down to the tub. Use your hand to sweep away the thick clumps of paste sticking to the drain.
Dry the freshly rinsed wall with a clean towel. Wet grout always looks darker than dry grout. You must remove the moisture to see the actual results of your scrubbing. Inspect the lines closely for any remaining dark spots. Small pockets of deep-rooted mold might survive the first application and require a second round of paste.
Target Stubborn Spores with Undiluted White Vinegar
Sometimes a heavy infestation leaves behind stubborn gray shadows in the grout lines. White vinegar steps in perfectly for these leftover spots. Fill a spray bottle with standard five percent household white vinegar. Never mix this with bleach or peroxide. Spray the vinegar directly onto the remaining shadows until the grout is completely saturated.
Let the acidic liquid sit on the grout for thirty minutes. The low pH of the vinegar disrupts the cellular structure of the surviving mold species. Scrub the area one last time with your nylon brush and rinse with hot water. The strong vinegar smell dissipates completely once the shower dries and the bathroom airs out.
Dry the Shower Completely to Stop New Growth
Mold moves back in the second you leave sitting water on the walls. Your cleaning routine must end with aggressive moisture control. Wipe down the entire shower stall with a dry towel or a rubber squeegee. Pay special attention to the caulk lines and the corners where water beads up and refuses to drain.
Turn on your bathroom exhaust fan. Leave it running for a full sixty minutes after you finish cleaning. Leave the bathroom door wide open to promote cross ventilation. An arid environment is the best defense against future fungal growth. Dry grout lines stay bright, clean, and completely free of black spots.
Quick Tips
- Keep a small squeegee hanging in the shower and wipe the walls down after every single use to eliminate standing water.
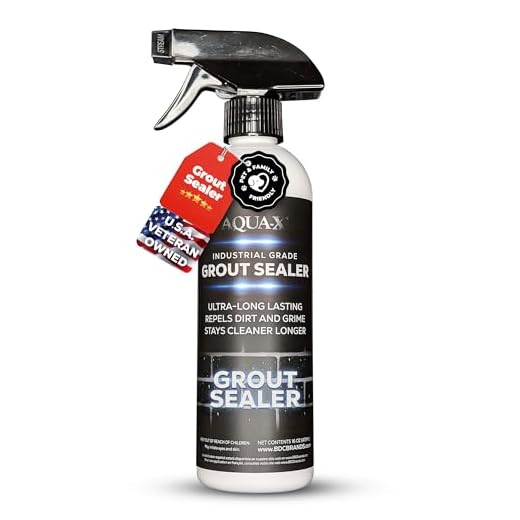
- Spray your dry grout lines with a penetrating silicone grout sealer twice a year to block moisture from entering the cement pores.
- Run your bathroom exhaust fan for thirty minutes after every shower to pull humid air out of the room completely.
- Wash your fabric shower curtain liner in the washing machine on the hot cycle once a month to kill wandering mold spores.
- Store your damp loofahs and washcloths outside the shower enclosure so they dry fast and do not trap moisture against the tile.
Frequently Asked Questions
Cleaning shower mold requires the right chemical reaction and serious elbow grease. A thick paste of baking soda and fresh hydrogen peroxide pulls the black stains out of your grout lines better than any surface spray. You just have to give the ingredients enough time to sink into the cement.
Take a close look at your shower habits once the walls are finally clean. A quick wipe down with a squeegee after your morning routine stops the fungus from returning. Seal your clean grout, run your exhaust fan, and enjoy a constantly spotless bathroom.
Recommended Products