Introduce the problem of dull blender blades. Blenders lose their edge over time from crushing ice and frozen fruit. A dull blade tears ingredients instead of blending them smoothly. You might think you need a whole new appliance when this happens. However, sharpening the blades yourself saves money and restores performance.
This guide explains the exact steps to get those blades sharp again. We will cover safety precautions to protect your hands during the process. You will learn how to remove the blade assembly properly. Then we will walk through the actual sharpening techniques using common tools. By the end, your blender will chop and puree like it did on day one.
Disassembling the Blender Safely
Safety always comes first when dealing with sharp kitchen appliances. Unplug the blender from the wall outlet before you do anything else. Remove the pitcher from the motor base and set the base aside. Most traditional blenders have a collar at the bottom of the pitcher that twists off. Unscrew this collar carefully to release the blade assembly and the rubber gasket.
Handle the blade unit by the plastic or metal base rather than the blades themselves. Wash the assembly with warm soapy water to remove any stuck food particles. Dry the blades completely with a thick towel to prevent slipping later. Inspect the rubber gasket while you have it apart to see if it needs replacing. Place the clean blade unit on a flat and stable work surface.
Using a Rotary Tool for Quick Sharpening
A motorized rotary tool offers a fast way to grind a new edge onto dull metal. You need a steady hand to maintain the correct angle against the factory bevel. Secure the blade assembly in a small vise so it cannot move while you work. Put on safety glasses to protect your eyes from tiny metal shavings. Turn the tool on to a medium speed setting before making contact with the blade.
Lightly run the grinding stone along the existing angle of the blade. Do not press too hard because high friction can overheat and warp the thin metal. Move the tool in one continuous direction rather than scrubbing back and forth. Repeat this motion three or four times until you see a shiny new edge form. The Dremel A679-02 Sharpening Attachment Kit for Home Tools provides the right guides and stones for this exact task.
Dremel A679-02 Sharpening Kit

Hand Sharpening with Diamond Files
Manual sharpening gives you much more control over the amount of metal you remove. Diamond files work exceptionally well for small and awkwardly shaped blender blades. Hold the blade assembly firmly against your work table with your non-dominant hand. Match the angle of the file to the original bevel of the blade edge. Push the file away from you along the edge in smooth and even strokes.
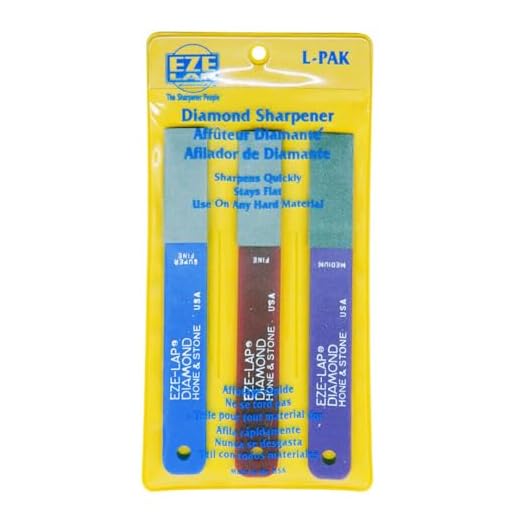
Count your strokes so you remove an equal amount of material from each individual blade. Five to ten passes usually do the trick for a moderately dull edge. Wipe the metal dust away with a damp cloth to check your progress. The EZE-LAP EZLPACK-BRK Diamond Sharpener Set includes multiple grit options to refine the edge gradually. Finish with the finest grit to leave a smooth surface that resists rust.
EZE-LAP Diamond Sharpener Set
Touching Up with a Pocket Stone
Sometimes your blades just need a minor touch up rather than a full grinding session. A small sharpening stone fits easily between the tight angles of a blender assembly. Soak the stone in water or apply honing oil depending on the material requirements. Grip the stone tightly and rub it against the blade bevel in small circular motions. Keep your fingers well behind the sharpening surface to avoid accidental cuts.
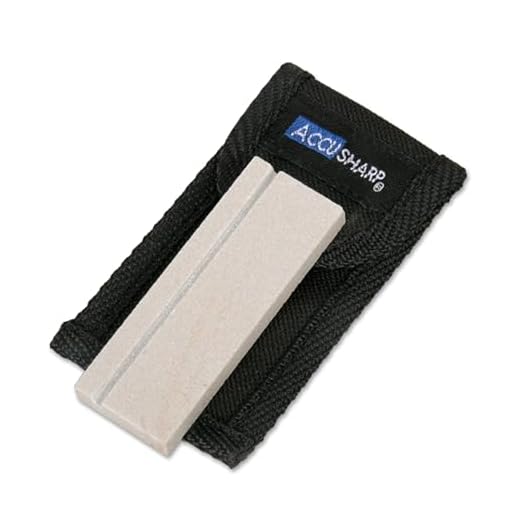
Work your way down the length of each blade from the base to the tip. Flip the assembly over and lightly run the stone flat across the back to remove any burrs. Wash the blades thoroughly after sharpening to ensure no grit ends up in your food. The AccuSharp Pocket Stone Sharpener with Pouch offers a dual-sided surface that handles both coarse grinding and fine honing. Dry the assembly completely before putting your blender back together.
AccuSharp 3-Inch Pocket Stone Sharpener
Reassembling and Testing the Blender
Putting the blender back together requires careful attention to the sealing components. Seat the rubber gasket flat against the bottom of the blade assembly. Insert the unit back into the bottom collar of the blender pitcher. Twist the collar tightly onto the glass or plastic pitcher to create a watertight seal. Give the blades a gentle spin by hand from the bottom to ensure they rotate freely.
Place the assembled pitcher back onto the motor base and plug the machine in. Fill the pitcher halfway with tap water and add a few drops of dish soap. Run the blender on high for thirty seconds to clean out any remaining microscopic metal dust. Dump the soapy water and rinse the pitcher out one final time. Try blending some ice cubes to test the newly sharpened edges.
Final Thoughts
Regular maintenance keeps your kitchen appliances running smoothly for years. Sharpening your blender blades takes only a few minutes and requires minimal tools. You will notice an immediate improvement in your morning smoothies and pureed soups.
Frequently Asked Questions
How often should I sharpen my blender blades?
Most home cooks only need to sharpen their blender blades once a year. If you crush ice or blend hard nuts daily, you might need to sharpen them every six months.
Can I sharpen blades that are permanently attached to the pitcher?
Some high-end blenders have blades fixed permanently inside the container. You cannot easily sharpen these yourself and will usually need to buy a replacement pitcher.
Does blending eggshells actually sharpen the blades?
Blending eggshells or ice does not sharpen dull metal blades. These hard materials actually contribute to dulling the edge over time.